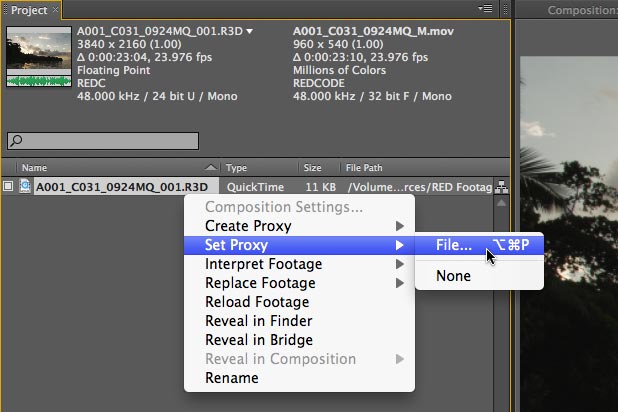
Many people like to shoot RED source footage these days, even if the final destination is lower-resolution video. I agree, it’s nice to have all of those extra pixels to play with – except when you have to actually read them off disk and process them in order to see a frame in a program like Adobe After Effects. Well, After Effects has a little-known feature called footage proxies that can speed up your workflow up until it’s time to render.
In order to open and read these .MOV files, you need to first install the free RED QuickTime codec, which can be downloaded from RED’s website as part of the RED Final Cut Studio Installer. These lower-resolution proxy files can then be read and processed much faster than the full-resolution original.
To assign these proxies in After Effects CS5, first import the .R3D file into your project. Then, with this original file selected, select File > Set Proxy > File (you can also right-click the file and get a mini contextual menu with this option, as seen at the top of this page). Navigate to the same folder as contained the .R3D file, and select one of the .MOV files, such as the one that ends in _M for quarter resolution.
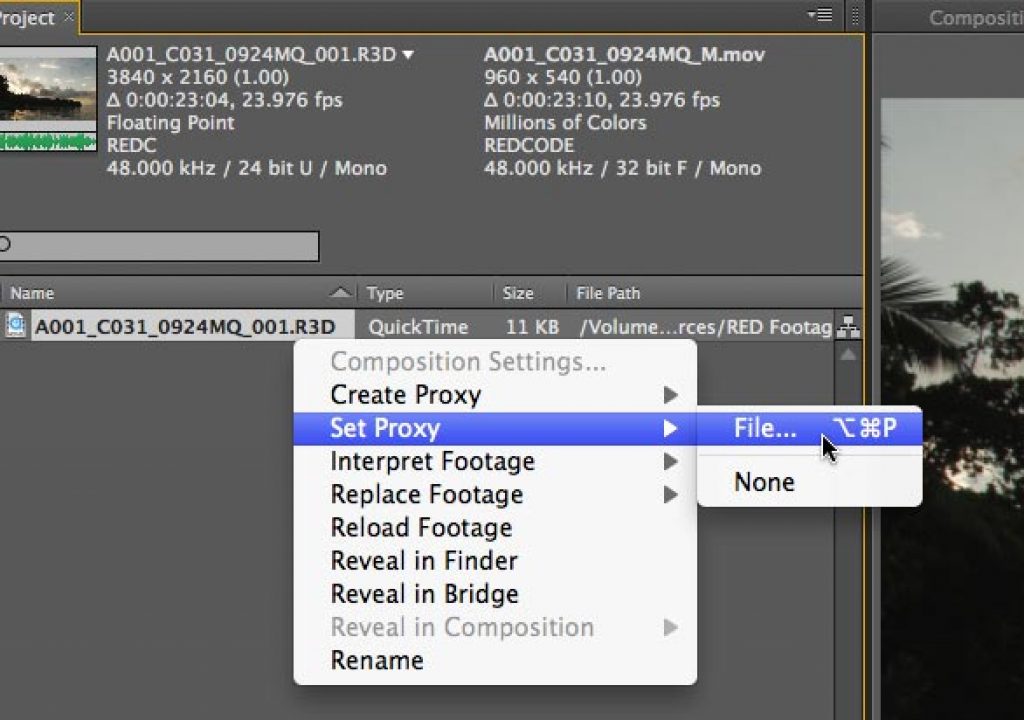
You will now see both the original and proxy files listed at the top of the Project panel; a small box will also appear to the left of the file’s name. When the box is filled in, After Effects will use the proxy instead of the original file. You can toggle this box on and off to switch between the proxy and original:
Although there is overhead involved in reading the original file and generating the proxy, in the case of the _M version After Effects will now have only 1/16 as many pixels to process (one quarter the pixels in the width times one quarter of the lines in the height), and in the case of a 4k source, you will still have 1k resolution to view while you work – akin to working with 1920×1080 HD at Half Resolution, which is common. The downsides are that the proxy has just 8 bit per channel (bpc) color resolution compared to 32 bpc, and while the proxy is enabled, the RED Settings in the Interpret Footage dialog will be ignored:
To access the RED R3D Source Settings for a RED clip, right-click the .R3D file in the Project panel, select Interpret Footage > Main, and click the More Options button near the bottom of the dialog that opens.
Footage courtesy of Alex Lindsay/Pixel Corps.
If you want to use the original, full-resolution, optionally-tweaked .R3D file when you render, open the Render Settings from the Render Queue for the composition in question, and set the Proxy Use popup to either Use No Proxies or Use Comp Proxies Only (the latter allows you to assign a pre-rendered movie to temporarily sit in for an entire composition – very handy for managing render-intensive comps):
Of course, you can always choose the Current Settings option, and keep a careful eye on the status of the proxy switch in the Project panel – but that’s just asking for trouble when you’re trying to set up a render at 2 AM so you can finally go home and catch oh-too-little sleep before the delivery deadline tomorrow (smile). Either way, remember you can save the Proxy Use setting for the template; just remember to set it for the templates you use under Edit > Templates > Render Settings.
This footage proxy feature has been around for ages, by the way – it was originally added as a way to handle film frames and other large source material back in the days when computers and hard drives were much slower. We would create compressed video-resolution QuickTimes from the film footage, and link to those as footage proxies to speed up the film workflow. It’s funny that the more things seem to change, the more they stay the same (or are just variations on the way things were before).
(By the way, this tip was first mentioned in a sidebar at the bottom of page 718 in our book Creating Motion Graphics with After Effects, 5th Edition. We also discuss working with RED footage in Chapter 26 on Color Management.)
Obligatory FTC disclosure: We have no connection whatsoever with RED. We’ve worked with After Effects since Day 0.9. Yes, Adobe takes care of us when it comes to software. No, they didn’t ask me to write this piece; I did it because Trish had some clients she was training last week who were looking for a more efficient workflow with their RED footage, and we thought others might benefit from this tip as well. Isn’t that what a blog is really supposed to be for?
The content contained in our books, videos, blogs, and articles for other sites are all copyright Crish Design, except where otherwise attributed.

