https://www.youtube.com/watch?v=5RxMkr3lG34
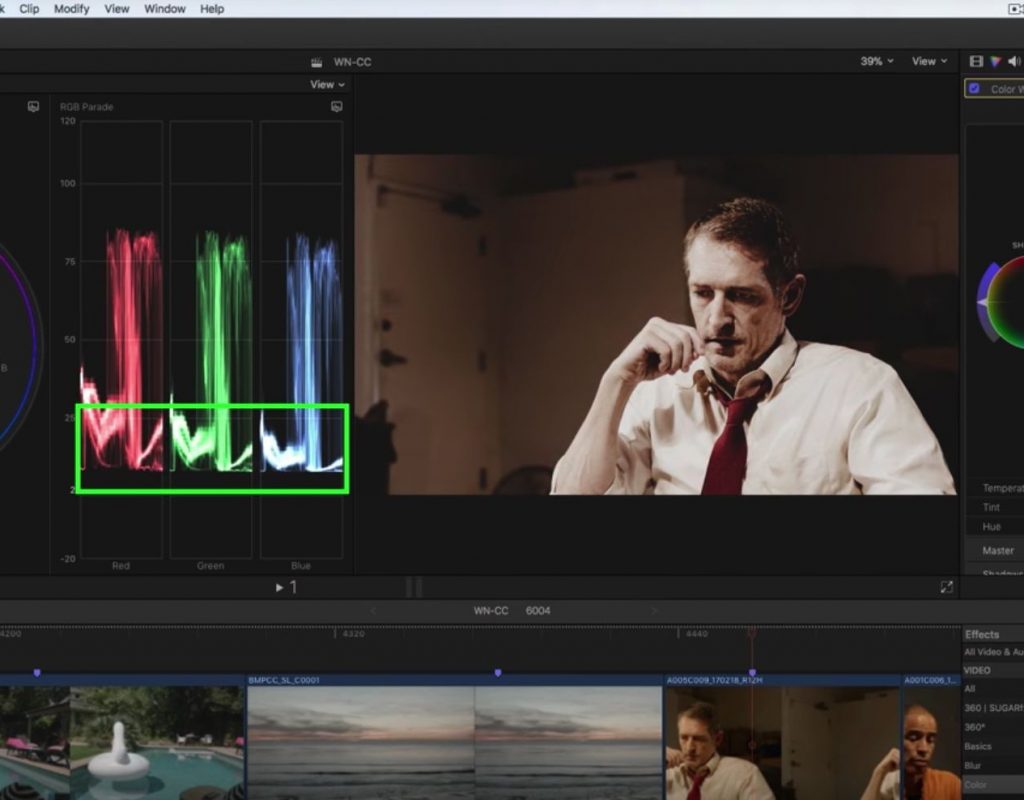
This week on MacBreak Studio, I talk with Steve Martin from Ripple Training about how to work with Camera LUTs and Creative LUTs in Final Cut Pro X.
In version 10.4 released last December, Final Cut Pro changed how it works with LUTs. It now distinguishes between two kinds of LUTs that are each applied in a different manner: Camera LUTs and Creative LUTs.
Camera LUTs are Look Up Tables supplied by each camera manufacturer and are designed specifically to display a particular camera’s LOG footage in the target delivery color space: either Rec. 709 or Rec. 2020.
Camera LUTs be used to make a clip look as it was originally shot. Assuming good exposure, you can use the LUT as your grade, or as the starting point of a grade. Of course you don’t have to use a camera LUT at all – you can always grade the LOG or RAW clip from scratch. However, Final Cut usually automatically assigns the correct camera LUT so you’ll want to turn it off before doing so.
If a camera manufacturer releases a new LUT, you don’t need to wait for an FCP X update to take advantage of it: you can now load your own camera LUTs.
Note that Camera LUTs are applied first in the processing chain, so they can therefore clip shadow and highlight detail that isn’t recoverable in the grading process. With a well-exposed shot this usually isn’t an issue.
Creative LUTs on the other hand, are applied as an effect, so they can be placed at the end of the processing chain, after your color corrections. You load your own creative LUTs, which you can purchase or find for free around the internet. Be careful, though – you need to know if the LUT was designed to be applied to a LOG clip or a clip that has already been conformed to the Rec. 709 or Rec. 2020 color space (via a Camera LUT).
So in some instances, you’ll want to create a “LUT sandwich”: use a camera LUT to correct your LOG clip for the delivery color space, then add a grade, and perhaps top it off with a creative LUT for a specific look you want to achieve.
Check it all out above. If you want to learn all the new color tools in Final Cut Pro 10.4, study our Advanced Color Correction tutorial.


