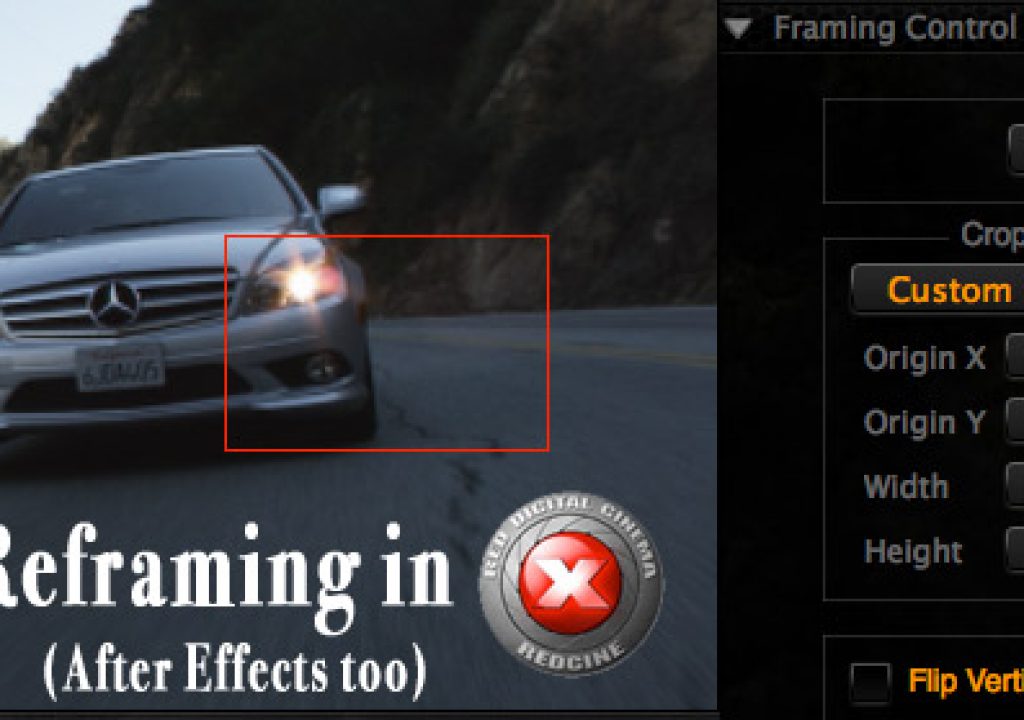
When you’re working with high resolution RED media in a high-definition world then one of the advantages of the original 4K image is the ability to reframe shots in post due to the different sizes of the acquired image. You can quite literally create entirely new shots without any softening of the image since the resolution is there. It can be accomplished in RED’s free software Redcine-X though I have to admit it took me a bit of time to figure out how to do it.
It would seem that reframing in the new Redcine-X would be a simple operation since there exists a Framing Control tab:
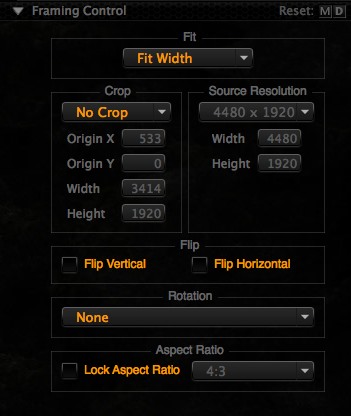
And you would be right as it’s not that hard to use but for some reason I remember trying to get it to work many builds ago and I couldn’t figure out how to crop in on a 4K image and then re-render a 1920×1080 ProRes file for the edit. And apparently from this Reduser post I wasn’t the only one.
It could have been a bug in that Redcine-X build or it could have been (and very likely was) operator error. If you remember the original Redcine (and let’s be honest, many of us would like to forget it) one nice thing that it had was the ability to reframe a shot and see exactly what you were getting. You could load a 4K shot and then tell Redcine to display that shot in a 1920×1080 (or whatever resolution you wanted, SD anyone?) frame. That would show the exact detail and sharpness to expect. X and Y coordinates then allowed the user to adjust the picture to get exactly what you wanted in the frame. Export that clip and you had a nicely reframed shot.
Redcine-X did away with that particular method but here’s how to make it work.
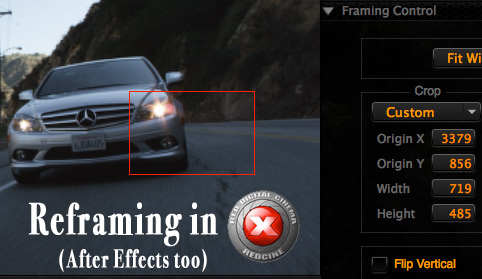
I tend to want to reframe one shot at a time so I load the clip I want to work on into the Redcine-X Viewer. Then I go to the Framing Control tab under the Clip Settings menu. Since I’m usually reframing 4K for 1920×1080 delivery I set a custom crop:
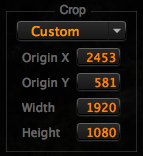
This sets the framing to 1920×1080. You can see the results by the red framing box frame that pops up in the Viewer:
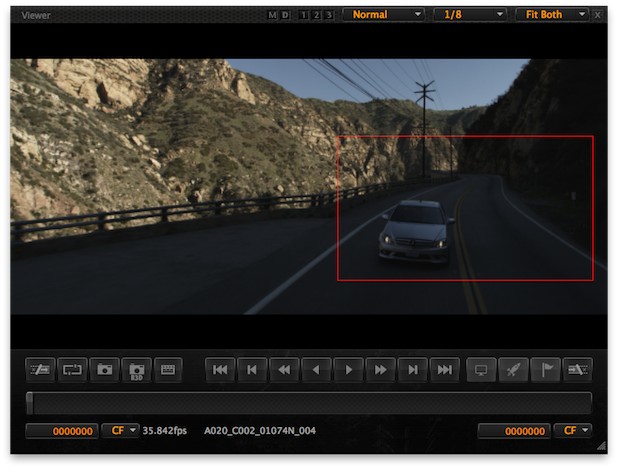
From there it’s a matter of moving the frame to create the new shot. You can use the Origin X and Y numbers in the Framing Control tab but a much easier way is to hold down the Command key on the keyboard and move the red framing box with the mouse.
With that you can get some really nicely reframed shots:
One of the original RED MX sensor clips scaled from the original size down to a web-friendly format.
The same shot but cropped in Redcine-X to get a close to the car as possible in a 1920×1080 frame.
Another option I’ve used for reframing a 4K RED shot is After Effects. If you’re using CS5 then there’s native support for RED right out of the box. If using CS4 then a download of the RED ADOBE CS4 INSTALLER (BETA) is needed. According to RED this installer “Provides native REDCODE media (R3D) support for Premiere Pro CS4 (4.1 and later) and After Effects CS4 (9.0.2 and later). ” I haven’t tried reframing in Premiere Pro CS5 but presumably it should work too.
After Effects works in much the same way that the old Redcine did so it’s a great way see exactly what you’re getting. Make a new composition with the appropriate resolution and import the R3D file into your AE project. Then when you drag the R3D file into the composition window you can see exactly the frame size different between the 4K (or 2 or 3K) image and the HD frame. Scale and frame accordingly, export a new file and you’ve got a new, reframed shot.
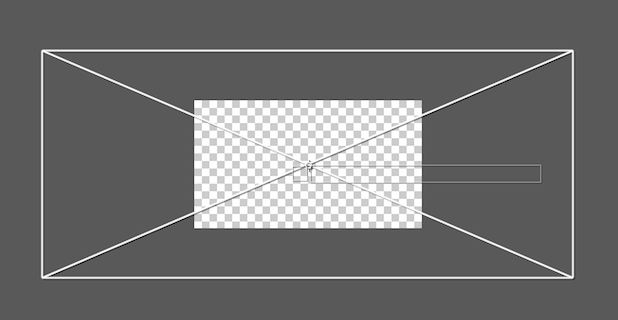
You can see the frame size difference when dragging a 4K R3D into a 1920×1080 composition in After Effects.
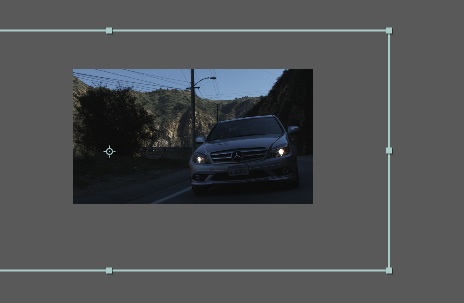
With this method you can see exactly what you’ll get in the frame.
One cool thing about doing something like this in After Effects is that you can keyframe moves around the image and create interesting effects:
I faked a snap zoom into this shot be keyframing the scale parameter (hit play if you’re seeing a white frame).
There’s certainly a lot of hooopla these days about the HDSLRs (and I have often drunk that Kool-Aid recommending and owning a 7D) but this reframing ability is one of the many reasons I still love working with RED footage. Try that kind of reframing with HDSLR footage … it ain’t gonna happen. Oh and there’s all that grading latitude in the raw R3Ds as well.

Filmtools
Filmmakers go-to destination for pre-production, production & post production equipment!
Shop Now